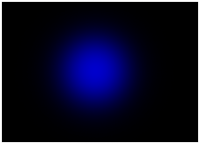
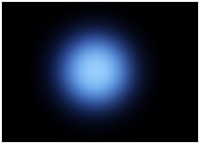
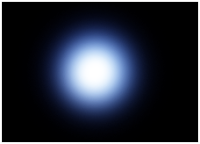
Open up a new document with 300×250 pixels, transparent background. Fill the background up with black, #000000. We’ll be starting off with the orb base color next, from darkest blue to white. Click on the foreground color and replace the current color to #000066. Create a new layer named “Orb Base” and select the brush tool.
Select a brighter blue, #3399ff for the foreground color and click your mouse once on top of the previous 2 base colors.Adjust the diameter by right clicking on your canvas and turn the hardness all the way down to 0%. We’ll be using 120 pixels for the master diamter in this tutorial. Go ahead and left click the mouse once on the canvas.
Click on your forgound color and select a lighter blue, #0000cc using the color picker. Tune down the master diameter a little bit smaller. Click your mouse once on top of the previous base color.
Select a much brighter blue, #99ccff for the foreground color using the color picker and click your mouse once again on top of the previous 3 base colors.
Click on your forgound color and select white, #ffffff. Tune down the master diameter a little bit smaller and click your mouse once on top of all the previous base color. The following result is shown with the optional step added in.
Step 2
Select the smudge tool and turn your master diameter up to around 39 pixels for this tutorial.
The next step require some practice supposedly this is your first time using the smudge tool. Click and hold the left button inside the orb base colors while moving your mouse to drag out the tail.Then,click and hold the left button on the inner tail while dragging your mouse to increase the length of the tail. Repeat and play around until you get the desired tail.Good Luck^^

