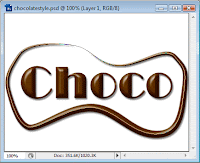
Create a new document 400 x 300px and fill it will black. Type the text in "Edwardian Script ITC", font-size 160 pt. Then, Go to the path palette and press the Make work path from selection button.

Step 2
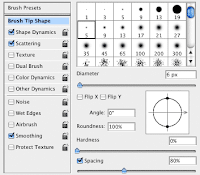
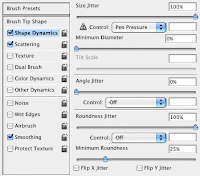
Now the text is a path it is posible to stroke it with the brush. But before that you need to change the brush options.
Step 3
Now the brush is ready to stroke the text. Go to the layer palette and delete text layer or make it invisible. Make a new layer. Set white as the foreground color. Go to the path palette and right click om the Work Path and choose Stroke path. In the window that now appears choose for Brush and make sure Simulate pressure is not checked. The stroke is a little to hard to make this better: Change in the brushes palette the following options: Brush Tip Size: Diameter to 4px and Spacing to 130%. Scattering: Scatter 600% Stroke the path again but this time with the option Simulate pressure checked. Click in the palette path on an empty area. That way the path becomes inactive.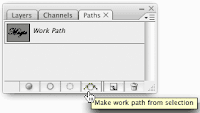

Step 4
Go to the layer palette and double click on the layer miniature of the sparkles layer to open the layer style window. Go to Drop Shadow and change the values as shown below:
