Use the type tool and create a new text in WHITE and position the text centered in the lower half of the document.
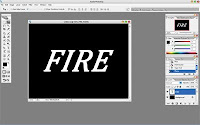
Now roate the new layer 90CW. (Edit->Transform->Rotate 90CW)
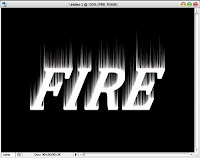
Now apply the Wind Filter to this new layer (Filter->Styleize->Wind)
Method: Wind, Direction: From the Left.
Press CTRL+F 3 times to reapply the filter 3 more times.
Now rotate the image back to normal: Edit->Transform->Rotate 90CCW
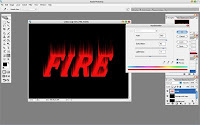
Now go to Image->Hue/Saturation
Check the "Colorize" Box. Set Hue to 40 and Saturation to 100
Now apply some Hue saturation to the new duplicated layer:
Now set the duplicated layer's blending mode to: Color Dodge
Now go to Layer->Merge Down To merge the 2 layers together.
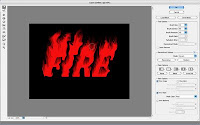
Now to create our flames, we go to Filter->Liquidfy. Now with the Warp tool selected, set brush size to between 40 and 50, and brush pressure to around 40 to 45.
Now just click and drag from the white edge of the text to wiggle your way into the orange to create the flame.
Next, change your brush size to about 30, and pressure to about 30, and go for 2nd round of creating your flame, hit OK.
Now move the original text layer to the top on the layers pallete, and change it's color to black.
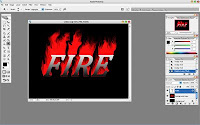
Now go to Layer->Rasterize->Type to rasterize the text layer. Now use the Add layer mask, and erase out the top half of the text.
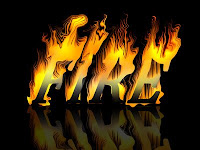
Now, if you want to create a reflection, do a selection about half of the bottom part of the flame.


1 comment:
wuahh...ini die neh...blog yang bagaus...numpang belajar photoshop mas...eh iya...blog nya udah saya link tuh...link balik ya...
Post a Comment