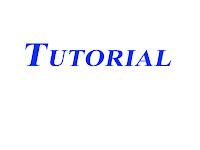
Create a new 640x480 pixels document with white background. Use the "Horizontal Type Tool"(T) and type anything you want. You should use blue text color.
Right click on "Tutorial" layer and select "Duplicate Layer".

Step 2:
Next Click on the "Move Tool"(V) and select "edit -> transform -> rotate 180" then "Flip Horizontal"
Click on the "Move Tool" again. A dialog box will appear to ask you confirm the transformation, click "Apply". Move the transformed layer near the original layer

Step 3:
Now click on "Add Layer Mask" beneath the "Layers" tab to add a mask to our transformed layer.
Press D, X to reset to Black Foreground - White Background, use the "Gradient Tool"(G) and choose "Foreground to Transparent" pattern.
and your text like this:

Step 4:
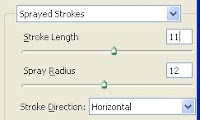
Then Go to Filter > Distort > Ocean Ripple and use these settings:

Finished! And this is the result:


5 comments:
hola como estas soy alejandro webmaster de http://tubideos.com , te propongo un intercambio de enlazes si estas interesado solamente deja un comentario en mi blog, un abraso alejandro
TuBideos.com
wow, this is great! i need more photoshop lessons to improve my digital hands...thanks for sharing.i'll be visiting often.:)
thanks. i need this tips.
visiting and reading your post here. thanks
thanks for sharing the tip! :)
Post a Comment