Wednesday, August 27, 2008

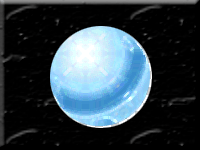
Making Shiny Button

Step1:
- First create a new document by pressing Ctrl+N. I set the dimensions 200 by 150 pixels, and the contents transparent
- Select elliptical marquee by holding the left mouse button on the marquee tool
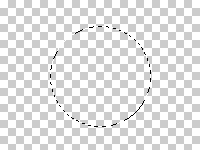


Step2:
- Set the foreground color to light blue, select the radial gradient tool and edit button to design our very own reflecting sphere gradient.
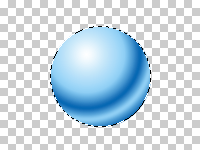


Step3:
- now use the often overlooked Paint Daubs filter found under Artistic filters. Select Filter > Artistic > Paint Daubs, and apply the filter with the following settings:

- Brush Size: 15
- Sharpness: 5
- Brush Type: Sparkle

and then press Ctrl+D to deselect the selection
- fill background with black color

Monday, August 18, 2008

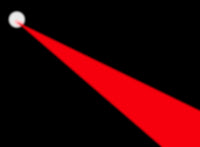
making effect power blast

step1:
create new layer with size 400x400 pixel, and choose black color. now use Ellipse Tool(U) to make circle.


step2:
Use the polygon lasso tool and click out a blast beam selection in perspective like you see here.Make sure it's on it's own layer. Fill it with a good bolt color...light blues, purples, greens and reds are good. Make sure it's a bright color high on the saturation.
Apply a gaussian blur to each layer. Play with the settings... We used a 2.5 pixel blur...you may need less or more depending on the size of your picture.
This technique also makes a good light saber


step3:
If you have layer photoshop not higher you can apply the "OuterGlow" layer effect to the lightning layer. Use the eyedropper to select the outer glow color from the beam itself and then you're done.
On another new blank layer, grab your paintbrush, set it to 1 pixel, 100% opacity, normal blendingmode and brush out some lightning forks along the beam.

Wednesday, August 13, 2008

make creation button

step1
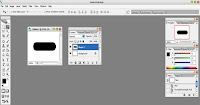
create a new document. make document 150x80. Fill the document background color to ' default white'
Rounded Rectangluar Tool with 50px and use the following setting:
Drag in a shape to fit into the canvas


step2
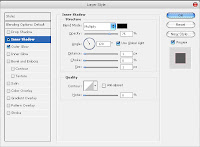
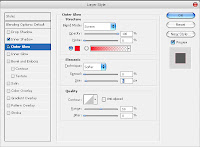
right click on your shape layer and go to 'Blending Option' ,input this setting:
step3
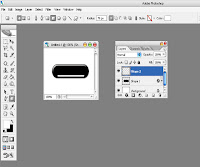
create a new layer. Get out a 'Rounded Rectangluar Tool' with size of 70px. Make a horisontal line across the your rounded rectangle shape like this:


right click on your shape layer and go to 'Blending Option' ,input this setting:


Now it's time to make your text layer. Type out what you want it to say.

Saturday, August 2, 2008

Making Lotus Colour

STEP1
Create a new document. In this case 450px x 450px.
Chose a nice background color.
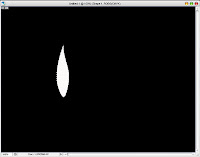
Draw a nice piece of leaf, or use the leaf in custom shapes. Color it in white


STEP2
Cut of the twig, if you are using the custom shape. Use the erase tool.
Mark the leaf with the Magic Wand Tool. Or hold ctrl and press the leaf layer
Go to Select > Feather, set a radius of 5px and press ok. Then fill it with the same color as your background color.
Now, duplicate the leaf as many times as you want. Spread them out, rotate and increase or decrease them in size by using the transform tool (ctrl + t)


STEP3
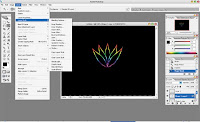
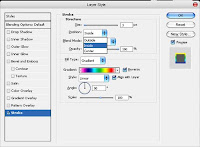
Now, merge the leaf-layers in to one layer. Select The Magic Wand Tool and klik Layer -> Layer Style -> Stroke...


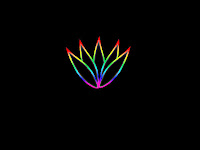
If you have done this right, it should look similar to this.